Getting Ready for Spring: Tree Fertilizing Guide

tree fertilizing

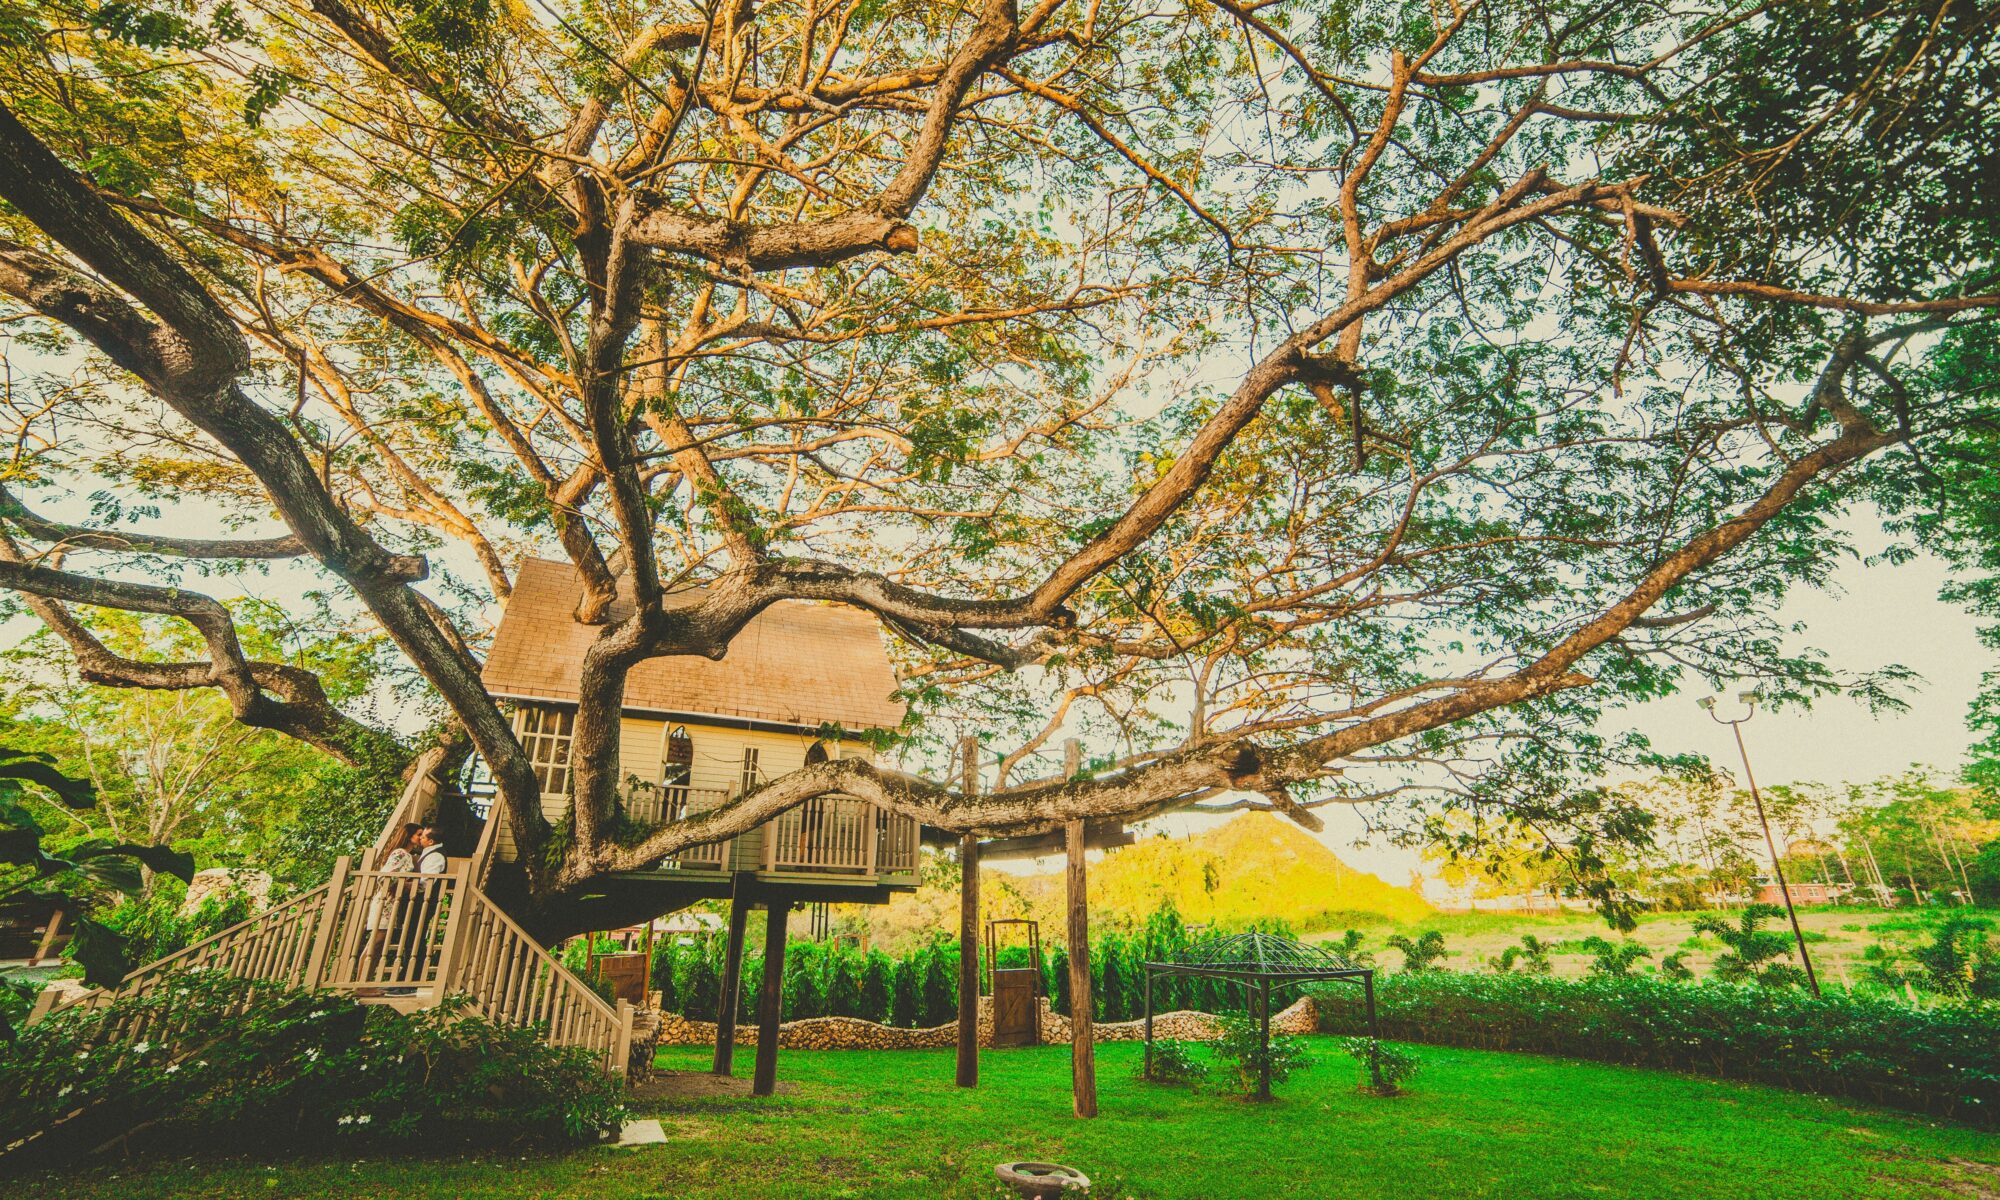
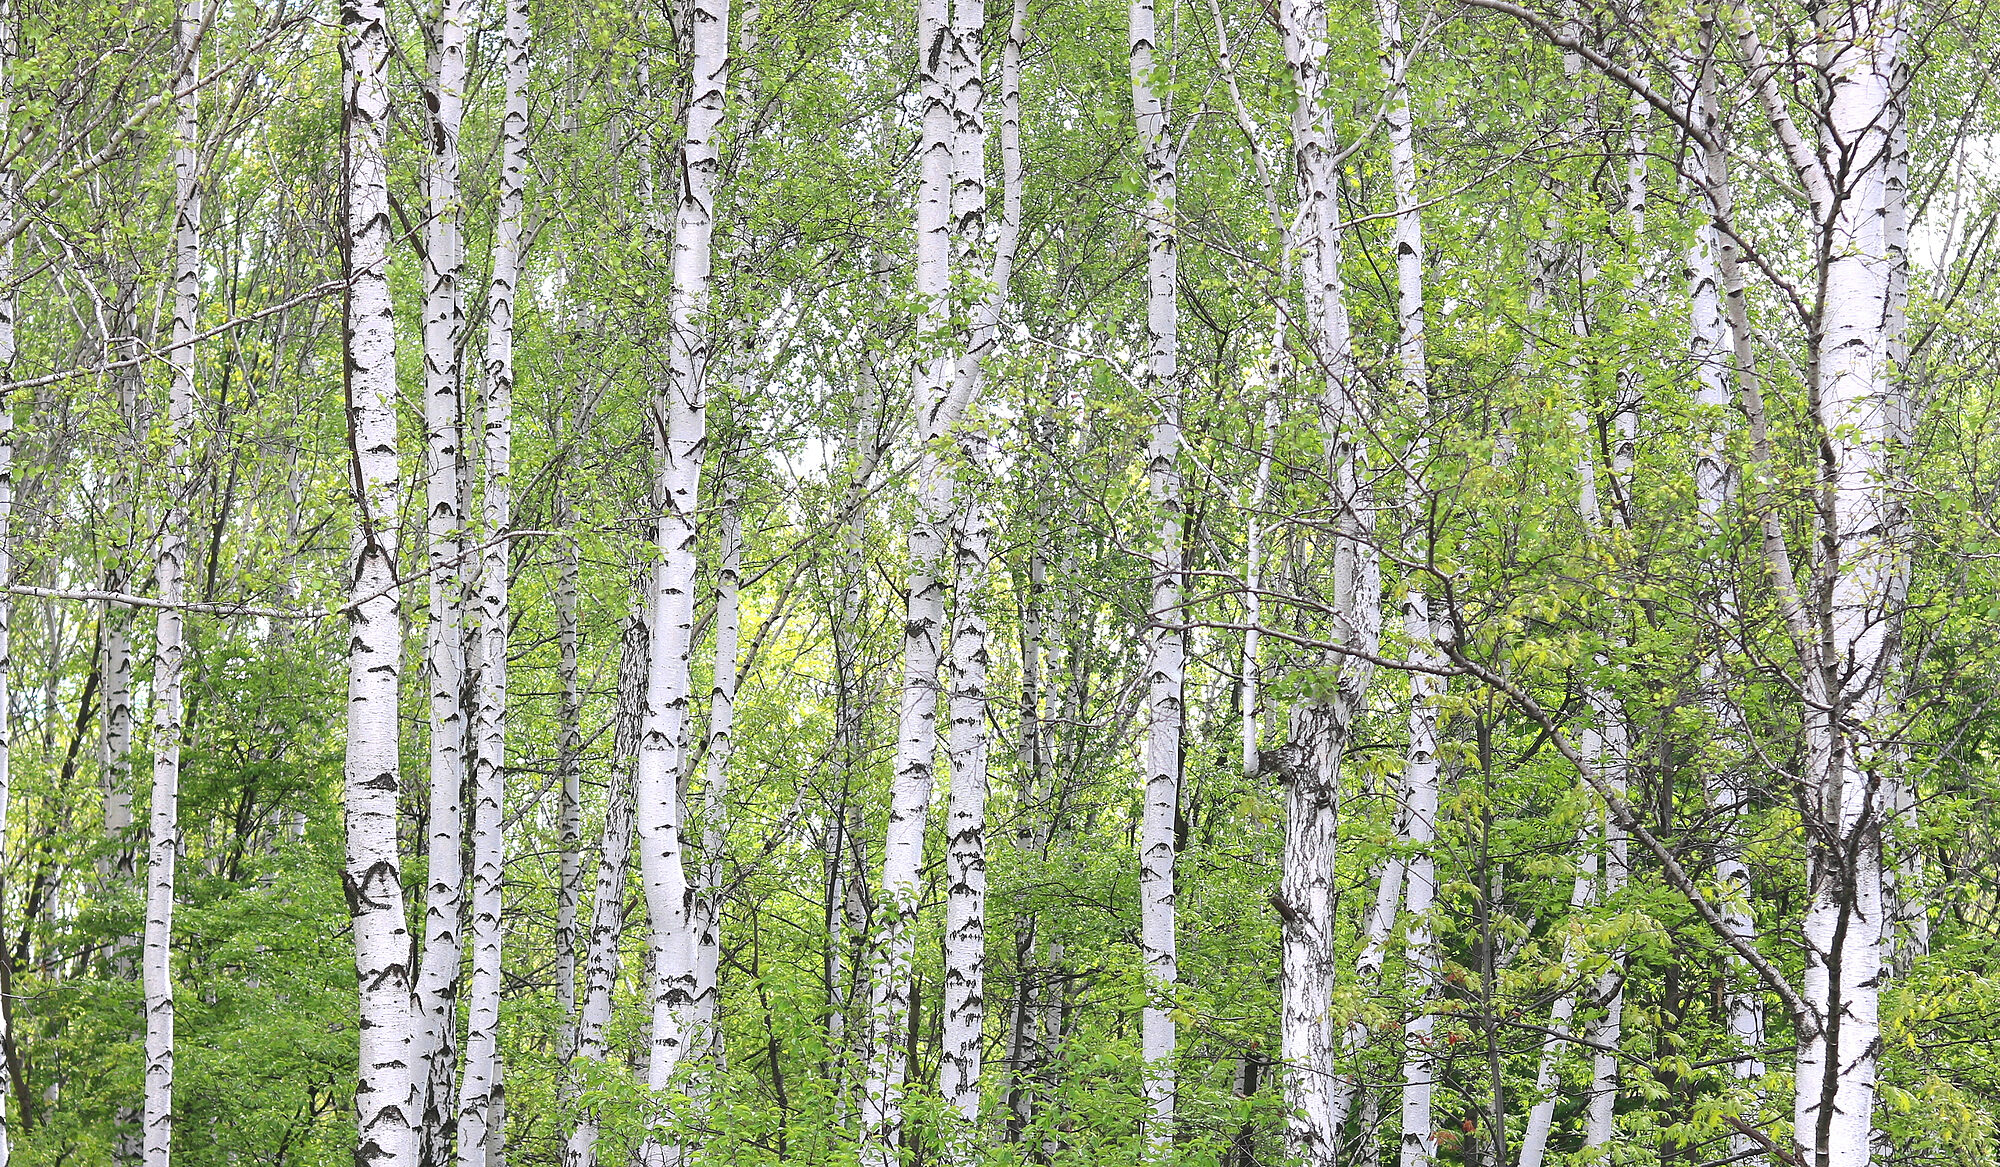
In the midst of rainy days and cold weather, it’s easy to forget that spring is right around the corner. And that means that all the trees in your yard are gearing up for a new season of growth and beauty. While it may not look like much now – just hefty bundles of twigs and branches – what you’re really looking at is a goldmine of potential.

Proper tree fertilizing care can help make sure that your tree turns into its full-fledged former self. But if you don’t know your NPK from your magnesium sulfate, never fear! We put together this helpful guide to walk you through all the basics, so you get the most out of spring with your tree friends!

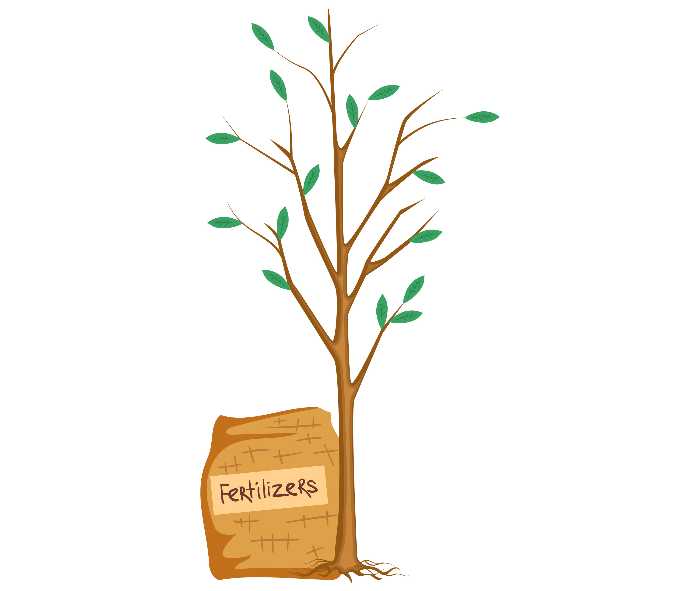
WHY Fertilize Trees?

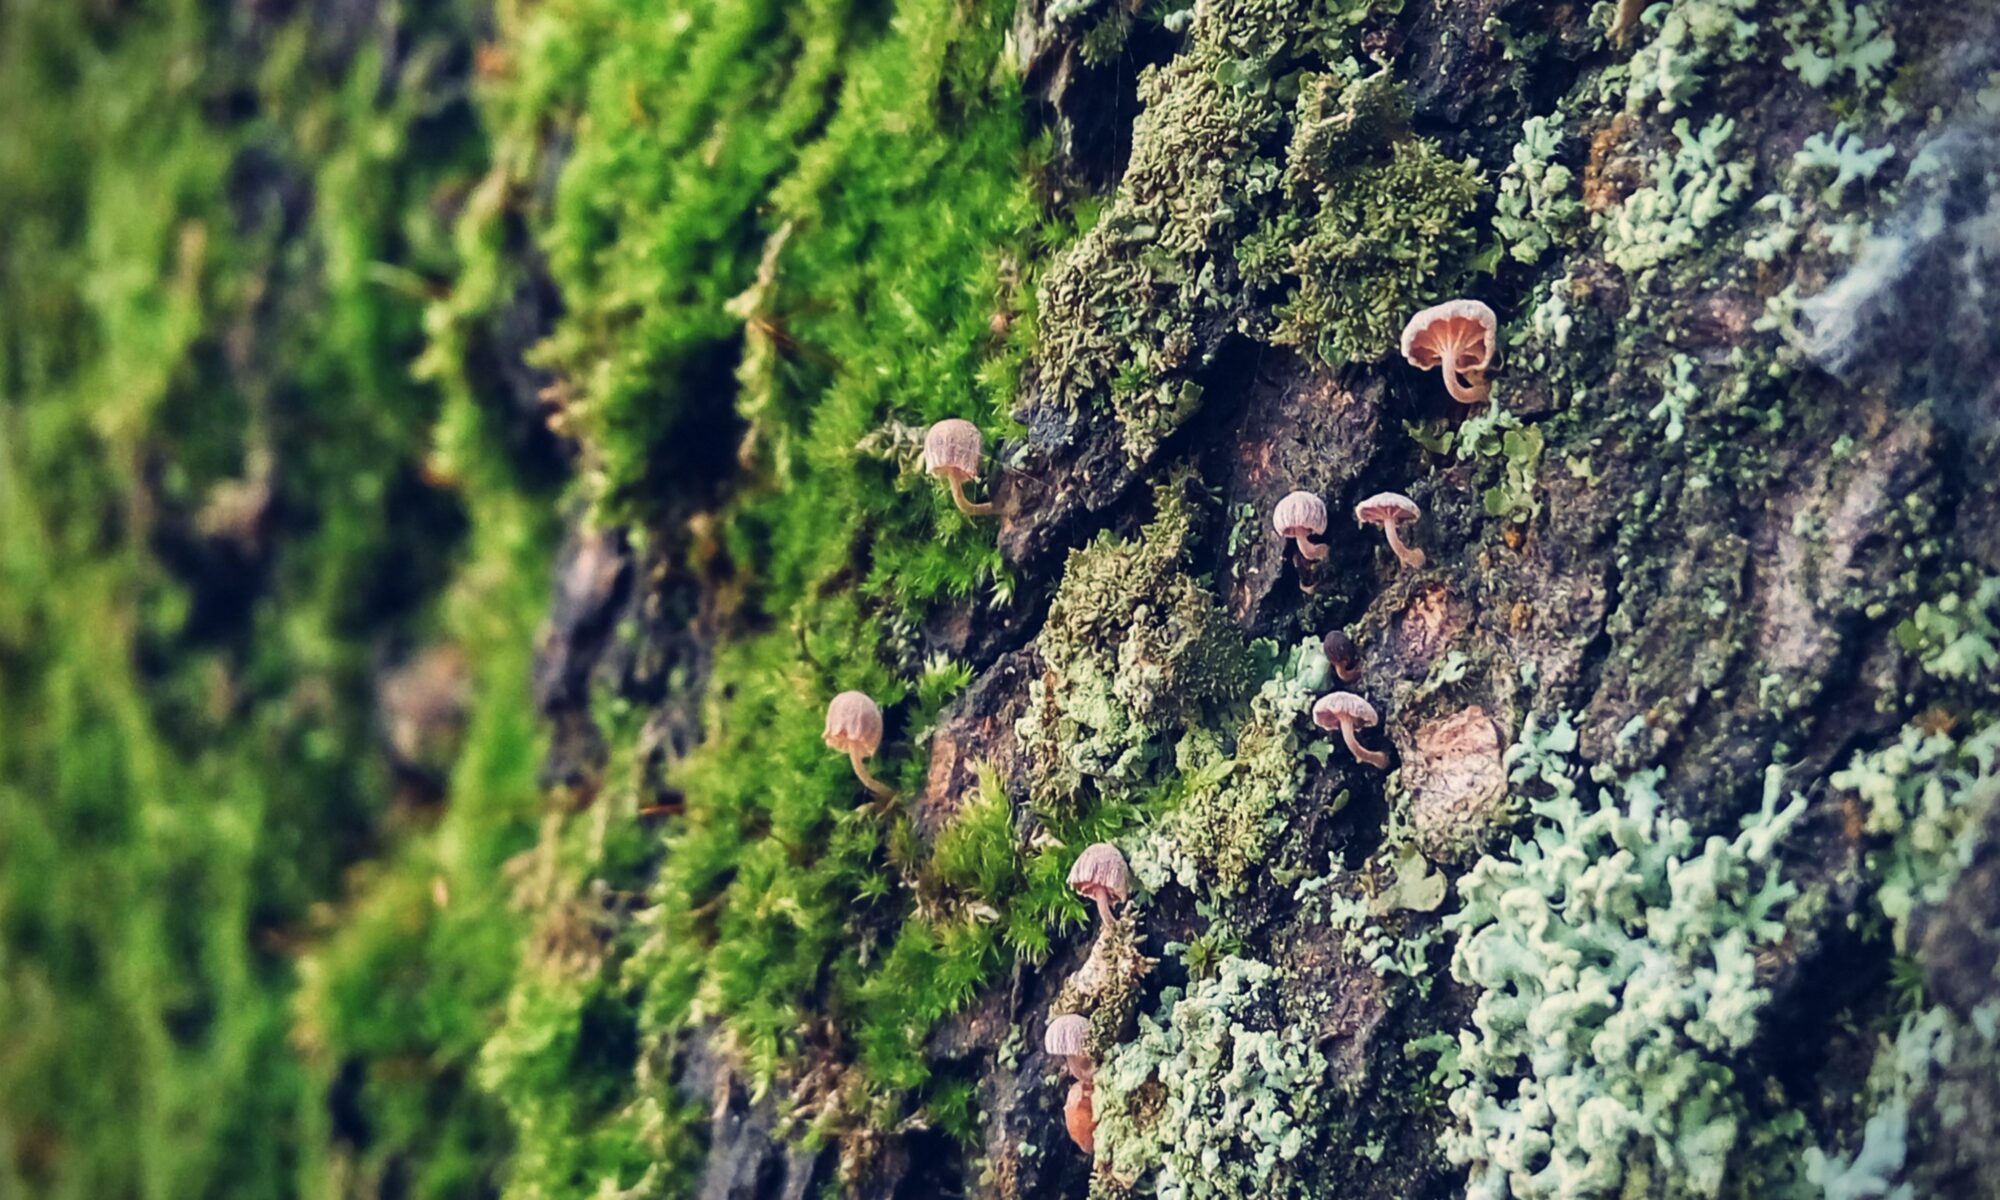
Trees need nutrients just like we do to stay healthy and strong. Fertilizing can help replenish the tree’s existing stores of energy, making it easier for your tree to take in water, grow foliage and support its own ecosystem. A good fertilization plan will make sure that your tree gets the nutrients it needs throughout all four seasons.

Trees in the wild almost never show nutrient deficiency symptoms because of both natural nutrient recycling and the fact that plants only grow where they’re best adapted. Landscape plantings, on the other hand, are especially vulnerable to nutrient deficiency because of their artificial environment and the lack of natural nutrient recycling.

WHEN to Fertilize Trees?

Spring is the best time to fertilize your tree. That’s when the tree starts growing new foliage and needs additional energy for photosynthesis. Depending on what type of tree you have, you may want to fertilize twice during spring – once in early spring and again mid-spring.

HOW to Fertilize Trees?

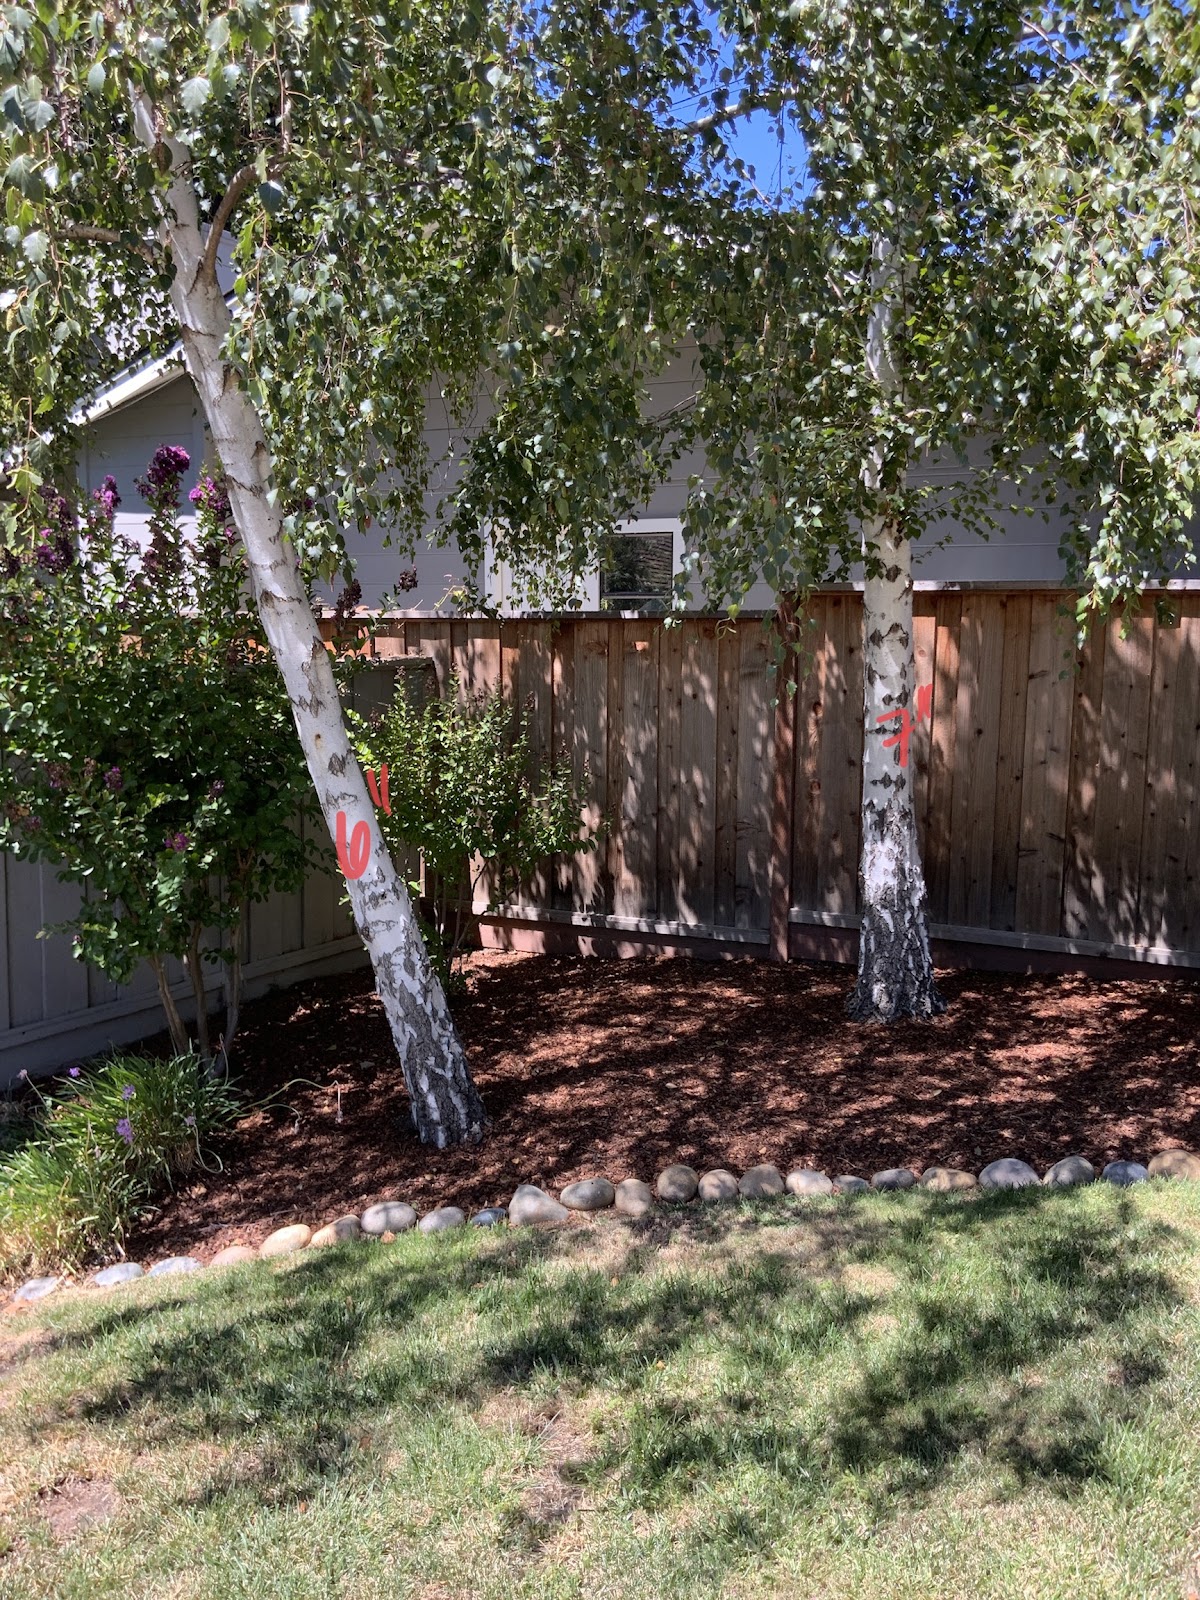
The key to tree fertilizing success is finding the right balance. If you over-fertilize, you may end up burning your tree’s roots and leaves; if you under-fertilize, your tree won’t get enough nutrients. When in doubt, opt for a slow-release fertilizer that gives your tree a steady dose of nutrients throughout the season. If you’re going for liquid fertilizer, make sure to dilute it with water and apply it at least 6 inches away from the tree trunk.

WHAT are the best evidence-based fertilizers?

There are plenty of evidence-based tree fertilizers out there with the right combination of nutrients for your tree needs. A granular tree fertilizer is typically a good choice, as it’s easy to spread and lasts longer. You can also get tree fertilizers that are specially formulated for certain tree types (i.e. evergreens, deciduous trees). Whatever you choose, make sure to read the label and follow the instructions carefully.
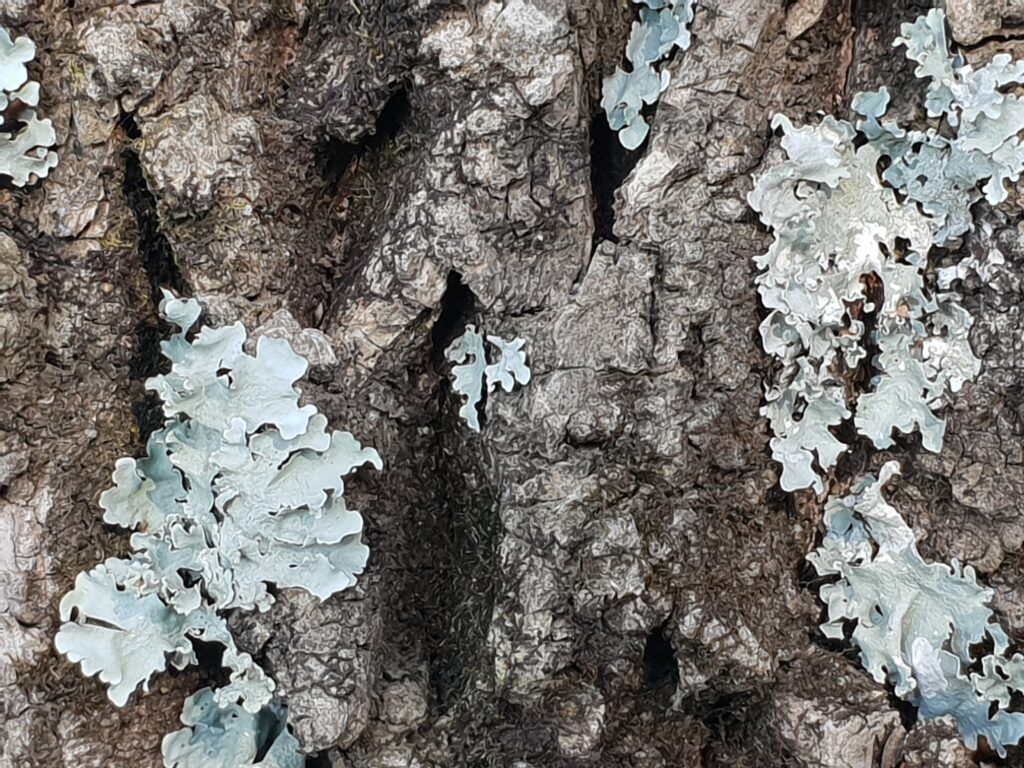
Soil pH

Soil pH is measured using a logarithmic scale of 0 to 14, with 7 being neutral. Soils with a pH below 7 are acidic, and those above 7 are alkaline. Adjusting pH levels is important for three reasons:

  1. Specific plants grow best within a certain range of pH
  2. Soil pH affects the availability of both major and minor nutrient elements
  3. Soil pH influences the level of microbial activity in soils

It’s important to test your tree’s soil pH and adjust the levels as needed before fertilizing. Knowing the tree’s optimum nutrient range and soil pH will help you choose a tree fertilizer that best meets its specific needs.

Plant Nutrition

Besides carbon, hydrogen, and oxygen– which come from air and water– plants need 16 other minerals to grow. Of those minerals, nitrogen (N), phosphorus (P), and potassium (K) are required in the largest quantities. These three elements are referred to as macronutrients and are the primary ingredients in tree fertilizers.

Knowing & Using Nutrient Ratios

The ratio of N-P-K in tree fertilizer is an important part of tree nutrition. The ratio should be adjusted based on the tree’s specific needs, as well as the soil type and pH. Generally speaking, a tree fertilizer for deciduous trees should have slightly more nitrogen than phosphorus, while evergreen tree fertilizers should be higher in phosphorus than nitrogen.

Following these tree fertilizing tips can help make sure your tree gets the nutrients it needs for growth and health. With a good tree fertilizer plan and enough patience, you’ll have a thriving tree in no time!To schedule a consultation with an experienced arborist, you can reach us at 925-233-6877 or send an email by clicking here.

How to Set Newly Planted Trees Up for Success

planting new trees

You’re planting new trees, congratulations! You’ve decided to beautify your property and provide shade and shelter for many years. However, planting a tree is only the beginning – it’s essential to set your new tree up for success so it can thrive in its new home. This blog post will discuss some of the most common signs of transplant shock in newly planted trees, what you can do to help them recover, and what best sets them up for success.

Preventing Transplant Shock

You’ve seen it before: a beautiful, healthy tree that’s been recently transplanted, but within a few months or years, it starts to decline. The leaves turn yellow or brown, wilting and curling; the needles on evergreens discolor, and growth slows dramatically. This is called transplant shock, and unfortunately, it’s quite common.

You can do several things to prevent or minimize transplant shock in your newly planted trees:

  1. Be sure to choose the right tree for the planting site. This means considering the tree’s mature size, light and water requirements, and whether it’s appropriate for the climate.
  2. Prepare the planting hole properly. The planting hole should be twice as wide as the tree’s root ball and just deep enough so that the tree is at the same level it was in the nursery.
  3. Water your tree regularly and deeply. This is especially important during hot, dry weather. Newly planted trees need about an inch of water per week.
  4. Fertilize your tree correctly. Overfertilizing can do more harm than good, so be sure to follow the instructions on the fertilizer label.
  5. Protect your tree from damage. Be careful not to compact the soil around the root ball, and avoid using string or wire that could girdle the trunk.

Taking these steps gives your newly planted tree the best chance for a long and healthy life.

Planting New Trees: How to Set Them Up for Success

If you’ve recently planted a new tree on your property, you’re probably wondering how to best set it up for success. Here are our arborists’ best tips:

Plant at the Right Time

The best time to plant a tree is in the late fall when the weather is cool, and the ground is moist. This gives the tree a chance to establish itself before the stresses of hot weather and drought set in.

Watering Your New Tree

One of the most important things you can do for your newly planted tree is to water it regularly and deeply. Newly planted trees need about an inch of water per week, so check the soil around your tree weekly. If it feels dry several inches below the surface, it’s time to water. The best way to water your tree is with a soaker hose or drip irrigation system, which will help to avoid wetting the leaves and reduce the risk of fungal diseases.

Mulching

Mulch helps to conserve water, protect the roots from extreme temperatures, and prevent weeds from competing with your newly planted tree. Mulch should be applied in a ring around the tree, extending out to the drip line (the outer edge of the tree’s canopy). The mulch should be two to four inches deep, and keep it several inches away from the tree trunk.

Pruning

Pruning newly planted trees is generally unnecessary, but there are a few exceptions. If you see dead or damaged branches, you can remove them. Also, remove any suckers (shoots that grow from the tree’s base) that appear. Suckers compete with the tree for water and nutrients and can eventually weaken or damage the tree.

Contact a Certified Arborist

At Sexy Trees, our wide range of services and care will keep your trees healthy and beautiful for decades to come. We believe in supporting our communities of trees through evidence-based techniques that you can depend on. 

Call us at 925-233-6877 for an estimate, or email us at [email protected] anytime with questions!

Crash Course in Tree Fertilizers: How to Choose the Best One

tree fertilizer

There are many misconceptions about tree fertilizers. Most people don’t realize that not all tree fertilizers are created equal – different trees and soil types will yield different results – and tree fertilizer isn’t the miracle-in-a-bag that will save your trees. This article will serve as a crash course in tree fertilizers – we’ll discuss how to choose the best one for your needs, as well as some of the benefits and drawbacks of different types!

Does it NEED Fertilizer?

Many established trees will never need fertilizer, while others will benefit from periodic applications. The best way to determine if your tree needs fertilizer is to have a soil test done. Most tree roots are relatively shallow, so even if the topsoil looks healthy, the tree may not be getting all of the nutrients it needs from just that layer. A simple soil test will tell you what nutrients are already present in the dirt and which ones may be lacking.

Other Signs Your Tree Might Benefit from Fertilizer

  • If your tree is newly planted or young
  • If your tree is showing signs of poor growth such as poorly colored, pale leaves, unusually small leaf size, earlier than normal fall coloring and leaf drop, little annual twig growth, or twig or branch dieback (Note: Heavily compacted soil or poor weather conditions can also cause these symptoms)
  • If your tree is planted in sandy soil with little organic matter
tree fertilizers

Types of Fertilizer

There are two main types of tree fertilizer: organic and inorganic.

Inorganic tree fertilizers are made with synthetic chemicals and can offer a quick-fix solution for nutrient deficiencies. However, they can also harm the environment if not used correctly, as they can easily leach into groundwater. Additionally, inorganic tree fertilizers can burn tree roots if misapplied.

On the other hand, organic tree fertilizers are made from natural materials such as manure, compost, and bone meal. They release nutrients slowly over time and are much less likely to cause root burn. However, they may not be as immediately effective as inorganic tree fertilizers.

The best tree fertilizer for you will ultimately depend on your specific tree and soil type, as well as your budget and goals. If you’re unsure where to start, we recommend talking to a local tree expert. They can help you determine which product will work best for your needs!

Choosing the Best Fertilizer for Your Trees

1. Do Your Research

Before you start shopping for tree fertilizer, it’s essential to do your research. Only some products are created equal, and the best tree fertilizer for your needs may not be the most popular or well-known brand. Start by reading the label carefully. The three numbers on a fertilizer bag (known as the N-P-K ratio) will tell you the product’s percentage of nitrogen, phosphorus, and potassium. These are the three most important nutrients for tree growth.

Tree and shrub growth is more often limited by a nitrogen deficiency than by a lack of other elements. As a result, trees usually respond best to fertilizer with a 2-1-1 or a 3-1-1 ratio (nitrogen-phosphorus-potassium).

2. Fertilize Correctly

Once you’ve selected a fertilizer, following the application instructions carefully is important. Overfertilizing can be just as harmful as not fertilizing at all! Tree roots are sensitive to high concentrations of fertilizer, and, as we mentioned earlier, too much can cause root burn.

When applying tree fertilizer, always follow the manufacturer’s instructions. Talk to a tree care specialist if you need clarification on how much or how often to apply the product. They can help you create a fertilization schedule that meets your tree’s needs.

3. Consider Timing

The timing of your fertilizer application is also essential. Generally, it’s best to fertilize trees in the early spring before new growth begins. This gives the tree a chance to absorb the nutrients before it puts out fresh leaves and branches. However, there are some exceptions to this rule. If your tree shows signs of nutrient deficiency, you may need to fertilize it more than once a year.

And that’s it! With some research and careful planning, you can ensure that your trees get the nutrients they need to thrive. Just remember: more is not always better when it comes to tree fertilizer. A little goes a long way!

Related Reading: Fertilizer Root Injections to Support Tree Health

Contact a Bay Area Tree Care Specialist Today

How to Identify and Get Rid of Elm Leaf Beetles

elm leaf beetle

Elm trees are a beautiful addition to any landscape. With their large, shady canopies and rounded green leaves, elms are a stately and elegant tree and very popular in North America. Unfortunately, elms are also the favorite food of the elm leaf beetle – and Sexy Trees has been seeing quite a lot of trees with elm leaf beetle infestations in recent months. These pesky insects can cause significant damage to elm trees if left untreated.

In this blog post, we will discuss how to identify elm leaf beetles and provide tips on how to get rid of them.

Identifying Elm Leaf Beetles

The elm leaf beetle feeds heavily on elm trees in both its adult and larval forms, so it’s essential to be able to identify this pest at every stage in its life cycle. Photos by Colorado State University.

Elm leaf beetle, with the yellow coloration of the form found during the growing season

Adult Beetles

Adult elm leaf beetles are yellow or olive-green and have a black stripe on each wing. They also have several dark spots behind their head. These beetles grow to about six millimeters or just under a quarter of an inch long.

Egg mass of an elm leaf beetle

Eggs

Elm leaf beetles commonly spend winter in sheds or other sheltered locations in cold climates. They emerge in the spring and deposit eggs in clusters of 15 to 20 on the undersides of leaves after feeding for a few weeks. These eggs are oblong and yellow and hatch seven to ten days later.

Late stage elm leaf beetle larvae

Larvae

The larvae are tiny and black with yellow stripes running down their backs. They mature in about four weeks and then pupate into adults. The entire life cycle from egg to adult takes about six to eight weeks.

Signs of Infestation

Elm leaf beetles typically infest elms that are already stressed or unhealthy. This is because these trees are more likely to produce a chemical that the beetles find attractive. Signs of elm leaf beetle infestation include:

  • Skeletonized leaves, with only the veins remaining
  • Holes in leaves
  • Stippling or mottling on leaves (this is caused by the larvae feeding)
  • Yellowing or browning of leaves
  • Premature defoliation

If you notice any of these signs on your elm trees, it’s time to take action. Keep reading to learn how to get rid of elm leaf beetles.

Getting Rid of Elm Leaf Beetles

You can use several methods to get rid of these elm-devouring pests.

Insecticides

You can use chemical insecticides, such as pyrethroids or neonicotinoids. These products should be applied when the beetles are actively feeding, typically from late spring to early fall. Be sure to follow the instructions on the label carefully, as these products can harm humans and animals if misused.

Natural Control Methods

Unfortunately, there are very few natural predators of the elm leaf beetle. Predators such as predaceous stink bugs and plant bugs may feed on the beetle in various stages of its life cycle, as may parasitic wasps. A fungus called Beauveria bassania may also kill these beetles in the pupae stage.

Related Reading: How Do I Know When a Tree is Sick?

Preventing Beetle Infestations

If you have elm trees on your property, the best way to prevent elm leaf beetle infestations is to keep your trees healthy. This means watering them regularly, fertilizing them as needed, and pruning them to remove dead or dying branches. Additionally, you can use physical barriers such as insect netting to prevent the beetles from accessing the tree’s delicate leaves.

If you suspect an elm leaf beetle infestation, the best course of action is to contact a professional pest control company. Our experts at Sexy Trees can help you get rid of these pesky pests and protect your elm trees from further damage.

Contact us today to learn more!

Reduce Tree Risk: How to Recognize & Prevent Tree Hazards

reduce tree risk

Trees are a lovely part of nature that we all enjoy in our yards and on tree-lined streets. But beautiful as they are, trees can be dangerous. Trees or branches can fall and cause injuries or damage to property. Recognizing these types of tree hazards before they happen is sometimes apparent – dead branches, leaning trunks, rotted wood, or fungi are easy to see with the naked eye. Other signs may not be so obvious, and a silently hazardous tree is much more dangerous than one that is clearly a hazard.

This blog post will discuss how to reduce tree risk by recognizing and preventing tree hazards.

Reducing Tree Risk: The Basics

Reducing tree risk is as easy as some basic knowledge and, sometimes, the help of a qualified arborist.

Regular inspections from an arborist will identify potential hazards and provide recommendations for remediation. In addition, basic knowledge about trees can help you prevent many dangers in the first place. For example, proper pruning techniques can help a tree stay healthy and robust, while incorrect pruning can damage a tree and make it more susceptible to disease or structural problems.

By following these tips, you can help keep your trees healthy and reduce the risk of hazards on your property.

Identifying Potential Hazards

Does your tree:

  • Have dead or hanging branches?
  • Appear to be leaning?
  • Show signs of rot, such as mushrooms growing at the base of the trunk?
  • Have cracks or splits in the trunk?
  • Display broken or damaged roots?
  • Have heavy or major branches that are growing horizontally?

If you answered yes to any of these questions, your tree might be in danger of falling and causing damage or injury. These are all signs that you should have your tree inspected by a qualified arborist.

Reduce Tree Risk

Reduce Tree Risk by Preventing Hazards

  1. Dead or Hanging Branches. Dead or hanging branches are a common hazard and can be easily prevented with regular pruning. If pruning yourself, always use the proper techniques to avoid damaging the tree.
  2. Leaning. Trees naturally lean a little bit, but if your tree is leaning more than 15 degrees, it may be in danger of falling. This is often caused by an uneven root system or damage to the roots. If you suspect your tree is leaning too much, have it inspected by an arborist.
  3. Rot. Rot is caused by fungi that breaks down organic matter, and it can make your tree structurally weak. If you see mushrooms growing at the base of your tree or any other signs of rot, have an arborist inspect it as soon as possible.
  4. Cracks or Splits. Cracks and splits in the trunk are usually caused by damage to the roots or heavy branches. These can make your tree more likely to fall, so it’s vital to have them inspected and repaired by an arborist.
  5. Broken or Damaged Roots. Root damage can cause several problems, including leaning, cracking, and splits. If you suspect your tree has damaged roots, have an arborist inspect it.

Precautions for Storms and High Winds

Storms can cause trees or branches to fall, even if the tree is healthy.

To prevent storm damage, it’s essential to:

  • Prune dead or hanging branches before the storm season.
  • Remove any damaged or diseased trees before they have a chance to fall.
  • Reduce the number of branches in the canopy to reduce wind resistance.
  • Anchor large trees with guy wires to prevent them from toppling over.
  • Stake young trees or those that are prone to storm damage.

If a storm is approaching, it’s also essential to:

  • Remove any loose items from your yard that could be blown into your trees and damage them.
  • Move your car to a safe location away from trees.
  • Stay inside during the storm and avoid areas where trees could fall.

Check Out Our Related Resource: How to Properly Dispose of a Fallen Tree

Is Your Tree Hazardous? Consult with an Arborist to Find Out

An arborist is like a tree doctor – they are experts in the care and maintenance of trees. If you suspect your tree is hazardous, the best course of action is to consult with an arborist. They will be able to inspect your tree and provide recommendations for reducing the risk of hazards.  Typical consultation can cost from $100 to $250 depending on the Arborist. 

Talk to us at Sexy Trees if you suspect your Bay Area tree might be at risk of becoming a hazard.

When is the Best Time to Trim Trees: Fall, Spring, or Winter?

best time to trim trees

To prune or not to prune… That is the question.

There is no one “right” answer to the question of when is the best time to trim trees. Different trees respond differently to pruning, so it’s important to know your species before you take a saw to its branches! That being said, there are some general best practices that can help you decide when to trim your trees.

Knowing when to trim trees is important for a variety of reasons. This guide breaks down the best time to trim trees in order to keep them healthy and beautiful.

Why Is Pruning Important?

Pruning is an important pillar of tree care. It helps to:

  • Remove dead or diseased branches
  • Stimulate new growth
  • Improve the shape and appearance of the tree
  • Encourage fruit production (in some species)
  • Have certified climber make sure the tree is safe for the public

Well-pruned trees are healthier and stronger, with a reduced risk of damage from storms or other hazards. Dead branches, diseased trees and weak limbs are all more likely to cause problems during extreme weather conditions.

Pruning also helps to keep your trees looking their best. Overgrown trees can be unsightly, and poorly shaped trees can lose their aesthetic appeal. Regular pruning can help you maintain the natural shape of your tree, or even improve its appearance if it’s looking a little worse for wear.

What is the Best Time to Trim Trees?

Although there is no one-size fits all pruning guide, anytime between late fall and early spring is generally best. This is because the trees are dormant during this time and can better tolerate the stress of pruning.

Pruning in late fall and early spring helps to:

  • Reduce the risk of infection and disease
  • Stimulate new growth
  • Encourage fruit production (in some species)

Summer and Fall Pruning

In general, it’s best to avoid pruning in the summer and fall as it can be stressful for trees. When trees are not dormant, they are actively growing and producing new leaves, flowers and fruit. Pruning during this time can interfere with this process and damage the tree.

Additionally, pruning in the summer and fall can promote the spread of disease. This is because fungi spores are more prevalent in these seasons and can easily infect cuts made to trees.

However, there are some exceptions to this rule. If you need to remove dead or diseased branches, it’s best to do so as soon as possible. These branches can be a haven for pests and diseases, and can quickly spread to the rest of the tree if left unchecked.

Winter Pruning

Winter is also a good time to prune trees, as long as you take care not to damage the bark. Be extra careful when working with power tools in cold weather, as they can be more likely to malfunction.

Pruning in winter has its own set of benefits and drawbacks. On the plus side, pruning during this time can help to prevent frost damage and encourage new growth in the spring. However, it’s important to be aware that some trees are more susceptible to damage from cold weather. If you’re not sure how your tree will react, it’s best to consult with a professional before pruning.

Properly Trimming a Tree

Now that you know when the best time to trim trees, it’s time to learn how! Here are some tips to help you get started:

  1. Start by removing any dead, diseased or damaged branches. These limbs are a risk to the rest of the tree and should be removed as soon as possible.
  2. Next, focus on any branches that are rubbing against each other or other fixtures in your yard. Friction can damage the bark and should be trimmed back to avoid problems.
  3. If you’re looking to improve the shape or appearance of your tree, start by pruning back any overgrown branches.
  4. Remove suckers (or water sprouts) which are fast-growing shoots that often appear at the base of the tree.
  5. When trimming, make sure to cut back to a branch junction or bud. This will help encourage new growth in the right direction.
  6. Finally, avoid topping your trees! This is when the main trunk of the tree is cut back, leaving only stubs. Topping can damage trees and make them more susceptible to disease and damage in the future.

With these tips in mind, you’re ready to start trimming your trees! Just remember to take your time and work carefully to avoid damaging the tree. If you’re not confident in your pruning skills, it’s always best to consult with a professional. They can help you determine the best course of action for your tree.

How to Save a Dying Birch Tree: (Detection, Treatment, & Prevention)

how to save a dying birch tree

Fairytale white bark, dripping green foliage… Birch trees are beautiful and provide shade during the hot summer months, but they can be very sensitive to their environment. If they’re not taken care of, or if they’re subjected to pests or harsh conditions, they can quickly sicken and die. But how can you identify the warning signs – do you know how to save a dying birch tree?

We do. Here’s a quick guide on how to save a dying birch tree. Detect, treat, and prevent birch tree death, plus learn a few tips to keep your trees healthy and resilient!

Signs Your Tree is Failing to Thrive

Defoliation and Yellowing or Browning of Foliage

A common sign that a birch tree is unhealthy is when its foliage starts to die off or change color. If you notice that your birch tree’s leaves are yellowing, browning, or falling off prematurely, it’s important to take action immediately. This is usually a sign of pests or disease – both of which can quickly kill a birch tree if left unchecked.

Bark Discoloration and Dark Patches

When bark starts to discolor or develop soft, tarry, or dark patches, it can be a sign of disease, pests, or even physical damage to the tree. If you notice any changes in the color or texture of your birch tree’s bark, it’s important to have a professional take a look as soon as possible.

Leaf Spots, Blotches, and Blisters

Leaf spots, blotches, and blisters on birch trees can be caused by a variety of fungal diseases. If you notice any of these symptoms on your tree’s leaves, it’s important to act quickly. Fungal diseases can spread rapidly and kill a birch tree if left untreated.

Split Branches or Dead Branches

Dieback and canker diseases from various pathogens attack the bark and cambium layers of birch trees. Diseased tissue widens and kills living tissue underneath the bark. Knotty growths form on bark and girdle stems, or the bark may split, revealing dead wood underneath.

Treatment

Here are a few things you can do to save a sick or dying birch tree:

Identify if Pests are the Culprit

Birch trees are particularly susceptible to attack from borers, aphids, and mites. The adult Bronze Birch borer is yellowish brown with coppery wings, with white and elongated larvae. These pests eat away at the insides of the tree, blocking the food and water supply and creating a maze of damage. Treatment for borers is best done early – otherwise the tree cannot be saved. As soon as you notice dieback or identify pests, treat the tree with insecticide. 

 Diseased Branches

Prune Away the Diseased Branches

If your tree is suffering from a fungal disease, you’ll need to prune away the affected branches. This will help stop the spread of the disease and give your tree a chance to focus its energy on healing. Be sure to sterilize your pruning tools before and after use to prevent the spread of disease to other trees.

Related Reading: Birch Tree Roots Removal: When and How to Cut Them

Opt for a Professional Diagnosis

If you’re not sure what’s wrong with your tree or how to treat it, your best bet is to call in a professional tree care company with certified arborists. They will be able to quickly diagnose the problem and provide you with the best course of treatment.

How to save a dying birch tree?Prevention

Water and Fertilize Regularly

Birch trees are not drought-friendly. They need a lot of water, especially when they’re young. Make sure to water them regularly (about once a week), and fertilize them yearly in the spring. This will help them to stay healthy and resist pests and disease.

Mulch the Roots

Mulching the roots of your birch tree will help it to retain moisture and resist temperature extremes. It’s important to use an organic mulch, like wood chips or shredded bark, and to keep it away from the trunk of the tree.

Plant Low-Growing Plants Around the Base

If you live in an area with hot summers, planting low-growing plants around the base of your birch tree will help to keep the roots shaded and cool. This will help the tree to resist stress and disease. By following these tips, you’ll know how to save a dying birch tree. If you think your tree is beyond help, it’s important to remove it before it has a chance to spread disease to other trees. Call in a professional tree removal company to safely and quickly remove the problem tree.

Lichen on Trees: Hurtful or Harmless?

lichen on trees

Lichen, comprised of green algae and fungus, can be found in even the most inhospitable corners of the Earth. But should you be concerned if you notice lichen on trees in your yard? In this article, we’ll answer all of your questions about this weird and wonderful organism.

What is Lichen?

Most people think of lichen as a plant when in reality it’s the result of algae and fungus working together in a symbiotic relationship. The fungus provides the body in which the algae can live, protecting it from damaging conditions such as UV radiation and drought, while the algae provide food for the fungus through carbon dioxide, water, and sunlight.

Despite its unassuming appearance, lichen plays an important role in the ecosystem. The slow-growing organism is an important food source for animals like slugs, reindeer, and caribou. Lichen also provides shelter for small animals and helps to prevent soil erosion.

With over 13,000 species, lichen can be found in a variety of colors and shapes, from neon green to crusty black to deep orange. The organism is commonly seen on surfaces like rocks, trees, soil, and shrubs.

Lichen on Trees: Should I Be Concerned?

Contrary to popular belief, lichen is not harmful to trees. Lichen tends to be found on trees already in a state of decline and is rarely found on young, healthy trees. Furthermore, because this organism isn’t a plant, it doesn’t make roots that can penetrate the tree bark. It will simply sit on the surface of the tree.

The good news is that lichen isn’t causing the decline of your tree, but is merely a symptom of an underlying issue.

What Causes Lichen to Grow on Trees?

Lichen prefers sunlight and moisture, so you’re likely to find it in sunny spots that have been exposed to rain. If your tree has recently lost leaves or a branch, this creates favorable conditions for lichen growth.

Should I Remove Lichen From Trees?

Lichen isn’t harmful to trees, so there is no reason to get rid of it.

Removing lichen can actually damage the tree’s bark, opening the perfect entry point for pests and disease.

If you’re concerned about the appearance of lichen on your tree, simply prune away the most densely-covered branches.

The Benefits of Lichen

Lichen actually offers several benefits to homeowners and the ecosystem.

As we mentioned before, lichen is an important food source for animals. The slow-growing organism can also help to prevent soil erosion.

Some types of lichen can be used to make a natural dye, while others are used in traditional medicine.

Furthermore, since lichen consumes carbon dioxide as a primary food source, it plays a role in lowering air pollution.

Warning Signs of a Declining Tree

While lichen isn’t harmful to trees, it can be a warning sign of a declining tree. If you notice lichen on your tree, pay close attention to the overall health of the tree.

Some common signs of a declining tree include:

  • Sudden loss of leaves
  • Branches falling off
  • More discolored leaves than healthy leaves
  • Deep cracks in the tree’s bark or trunk
  • An abundance of critters (they prefer weakened, dead, or dying hosts)
  • Mushrooms or other fungi growing at the base of the tree
  • Leaning or odd growth patterns

If you notice any of these warning signs, contact a certified arborist for an assessment.

Preventing Lichen Growth on Trees

The best way to prevent lichen on trees is to ensure that your trees are healthy and strong.

Here are a few tips:

  • Water your trees regularly, especially during periods of drought.
  • Prune away dead or dying branches.
  • Add mulch around the base of the tree to help retain moisture.
  • Avoid wounding the tree bark with lawnmowers or string trimmers.
  • Inspect your trees regularly for signs of stress or decline.

By following these simple tips, you can help prevent lichen growth on your trees.

Contact a Certified Arborist

At Sexy Trees, our wide range of services and care will keep your trees healthy and beautiful for decades to come. We believe in supporting our communities of trees through evidence-based techniques that you can depend on. 

Give us a call at 925-233-6877 for an estimate, or email us at [email protected] anytime with questions!

Learn How to Trim a Palm Tree to Make it Stronger and Healthier

palm tree trimming

If you’re wondering how to trim a palm tree, wonder no more! In this blog post, we will teach you everything you need to know about palm tree trimming. Unlike many other plants, palm trees don’t need to be trimmed frequently in order to stimulate new growth. However, there are still certain times when it’s necessary to prune your palm tree. We’ll cover when and why you should trim a palm tree, as well as how to go about it safely and effectively. So whether you’re a beginner or an experienced gardener, read on for all the information you need to keep your palm trees looking healthy and beautiful!

Caring for Palm Trees

Palm trees are a California beach staple: they invoke images of tropical vacations, palm-lined streets, and sandy beaches. But what many people don’t realize is that palm trees are actually quite low-maintenance when it comes to care and upkeep, especially once they are established.

Young Palm Tree Care Guide

When palm trees are young, they will need a little more care and attention in order to ensure that they grow into healthy adults. For the first few years of their lives, palm trees should be fertilized regularly. This will help them to develop strong roots and fronds, as well as produce new leaves more quickly. Once palm trees are established, they will need to be fertilized less frequently.

As with any plant, watering is crucial for palm tree health. Young palm trees should be watered deeply and regularly, about once a week or more if necessary. Established palm trees can usually get by with being watered less frequently, about every two weeks or so.

Young Palm Tree Care Guide

Palm Tree Trimming and Pruning

When to Trim

As we mentioned previously, palm trees don’t need to be trimmed as frequently as other plants in order to encourage new growth. In fact, pruning healthy fronds will actually reduce food production and ultimately weaken the tree. So when should you trim a palm tree?

The most common rule of thumb for palm tree trimming is to break the cutters out when you notice dead or dying fronds. Removing dead fronds helps to keep the palm tree healthy and looking its best. Fronds that are brown or black, as well as those that are hanging down or drooping, are probably dead and should be removed.

Another reason you might need to trim a palm tree is if it has become too tall. If the palm tree is interfering with power lines, for example, it will need to be trimmed down.

How to Trim

When it comes time to actually trim your palm tree, there are a few things you’ll need in order to do the job safely and effectively. First, you’ll need a pair of cutting blades. This tool will help you clean the trunk, cut the leaves, and remove any fruits that might be present.

You’ll also need a pair of pruning shears. Pruning shears are versatile instruments that can be used for a variety of tasks, such as trimming branches and removing leaves. If you need to remove thicker or larger fronds, pruning shears will make the job much easier.

Finally, you’ll need a ladder. Palm trees can get quite tall! Make sure the ladder is tall enough to reach the palm tree’s fronds and set it up on level ground to avoid injury.

When trimming your palm tree, start by removing any dead or dying fronds. Once all of the dead fronds have been removed, you can begin trimming back any branches that are interfering with power lines or other objects. When trimming branches, make sure to cut them back to a main branch or trunk to avoid damaging the palm tree.

Finally, use your pruning shears to remove any leaves that are hanging down or drooping. Once all of the palm tree’s fronds have been trimmed, you can step back and admire your handiwork!

Why to Trim Palm Trees

Although palm trees can go long stretches between prunings, trimming off the dead fronds keeps them healthy and beautiful. A beautiful palm tree is a stunning addition to any landscape, and with a little bit of care, it will thrive.

So don’t be afraid to break out the cutting blades and pruning shears when your palm tree needs a trim!

Get in Touch With a Local Arborist 

At Sexy Trees, our wide range of services and care will keep your trees healthy and beautiful for decades to come. We believe in supporting our communities of trees through evidence-based techniques that you can depend on. 

Give us a call at 925-233-6877 for an estimate, or email us at [email protected] anytime with questions!

What Is a Tree Surgeon? 9 Things (2022) You Ought to Know

tree surgeon

What is a tree surgeon? A tree surgeon is someone who helps to maintain and care for trees. This can involve things like pruning, trimming, and removing branches or limbs that are damaged or dead. Tree surgeons can also be helpful in terms of public safety – by removing dangerous branches or limbs from trees, they can help minimize the risk of injury or property damage.

Fast Facts About Tree Surgeons

What does a Tree Surgeon Do?

A tree surgeon is a professional who is responsible for the health and well-being of trees. They may be called upon to perform a variety of tasks, including planting trees, caring for young trees, removing trees, and diagnosing and treating tree diseases.

Qualifications to Become a Tree Surgeon

To become a tree surgeon, one must first have a degree in forestry or arboriculture from a recognized institution. They need to have at least three years of experience working as a tree surgeon. Additionally, one must pass an examination given by the International Society of Arboriculture to become a licensed tree surgeon.

Importance and Safety Tree Surgeon Offers

Tree surgeons must be skilled in the use of ropes and climbing equipment to work safely at height, and must also be aware of the dangers posed by working with large trees. They may also use machinery such as chainsaws and stump grinders. When choosing a tree surgeon, it is important to select someone qualified and experienced.

How Much Experience is Needed to Be a Tree Surgeon

In order to be a tree surgeon, one will need at least five years of experience working with trees. This experience can be gained through working in arborist, landscaping, or forestry industries. One should also have a strong understanding of tree biology and how to properly care for trees. Additionally, it is important to be physically fit and able to safely climb and work in high places.

Typical Services Offered by Tree Surgeons

Tree surgeons offer a wide variety of services aimed at maintaining the health and appearance of trees. Some of the most common services provided by tree surgeons include pruning, cabling and bracing, and tree removal.

Insurance and Bonding for Tree Surgeons

Tree surgeons typically have a degree in horticulture, forestry, arboriculture, or landscape architecture. In order to protect the public, tree surgeons are often required to carry insurance. Bonding is also usually required, as it guarantees that the tree surgeon will complete the job properly and meet all safety regulations.

Benefits of Employing a Tree Surgeon

A well-trained tree surgeon can preserve a tree’s health and extend its life. Improved safety. They can assess the condition of a tree and make necessary repairs to make it safe. Well-maintained trees that add beauty and value to a property are often the work of experienced tree surgeons too.

Cost of Tree Surgery Services

The cost of tree surgery services can vary depending on the size and complexity of the job. Typically, though, you can expect to pay between $50 and $200 per hour for a tree surgeon’s services.

When To Call a Tree Surgeon

A tree surgeon is a professional who helps to maintain the health and appearance of trees. They may be called upon to remove dead or diseased branches, thin the canopy to allow more light through, or prune trees for safety reasons.

Trees that are healthy and well-maintained can add value to your property – so if you’re thinking of selling in the future, it’s worth considering hiring a tree surgeon to help keep your trees looking good!

Get in Touch With a Local Tree Surgeon

At Sexy Trees, our wide range of services and care will keep your trees healthy and beautiful for decades to come. We believe in supporting our communities of trees through evidence-based techniques that you can depend on. 

Give us a call at 925-233-6877 for an estimate, or email us at [email protected] anytime with questions!